
Thursday, 22 November 2012

Tuesday, 20 November 2012
Contemporary Christmas Angel
This card was made last night although I have been tinkering and not posting (tut tut) 

So I decided to share the first thing I did with my new scalloped dies with you, and it was an easel card as you can see.

Firstly you have to cut the large circle, this one is almost six inches as that is the biggest my Bigshot will take (the Cuttlebug is the same size as far as I am aware). To do this you have to fold a piece of card in half I used A4, and leave a small amount of the die sticking out of the side so you still have a crease to create a card after it is cut.
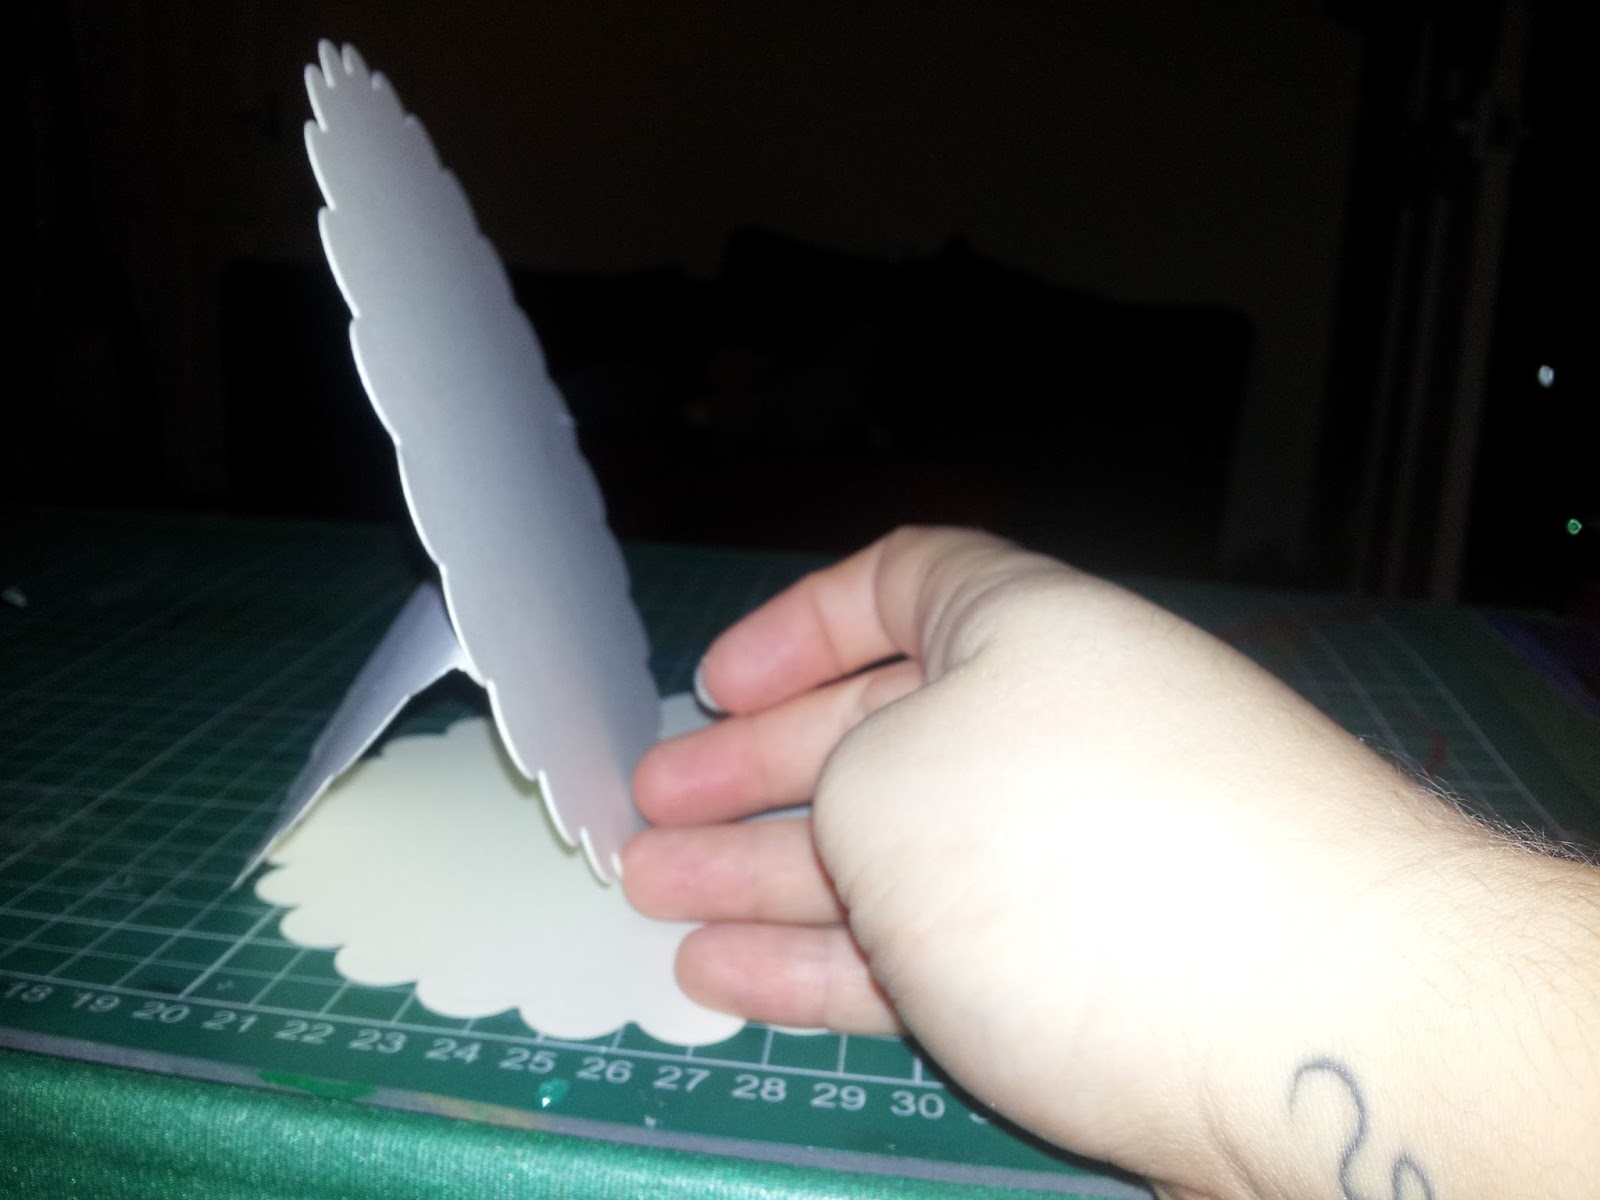

Fold the top scalloped circle in half, mine wasn't quite half but it doesn't matter too much as long as it is close enough. You then have to cut another circle the same size as your main card, stick it on like in the picture >.
Now you are ready to create your topper.
Now time for more cutting.
< this picture shows the main topper card also but you don't need another one of these this was for the step above, what you do need is one of the size below your main card and two of the size smaller than your second size (hope I make sense).

What I choose to do was emboss these circles, the larger one I placed embossed (bumpy) side up, and the size smaller de-bossed (not so bumpy) side up.

I then embossed the base cards topper also, placed embossed side up. The sentiment came from 'My paper stash' who have created a lovely A4 page of card ribbons. All that is left now is to add a focus point I choose a lovely picture I found on DeviantART, can't remember the artist from the top of my head but if you like it it's on my Pintrest and full credit is given there ( digital stamp board )
ENJOY!!!!! See you all again soon oh and head to the freebies page I am adding more there too.These will be changing over the next few days into separate pages, as all themes are in one place at present and I don't like that as its not easy to get around.
Wednesday, 14 November 2012
Magical Christmas
When I made this card I must of had what my husband would like to receive in mind.
I found the outline drawing on Google, and coloured it in with promarkers.
I hope you like it as it is a little different to what you normally see at Christmas.

Monday, 12 November 2012
Dingle Dangle Scarecrow Tag
Hi all hope your doing fine today. This has just been rushed together for a blog challenge through crafty emblies, the theme was a nursery rhyme. Hope you all like it xxx.

Sunday, 11 November 2012
Crafty-Emblies
This is where I get the lovely wooden embellishments from. She has some lovely lovely pieces on here, and lots of ideas on what to do with them. Better still its not just embellishments there are boxes and mini scrapbooks too.
Enjoy browsing I just know you will like it.

Crafty-Emblies
Enjoy browsing I just know you will like it.
Crafty-Emblies
Thursday, 8 November 2012
Jump up card

To make this card you will need-
Card
Scoring board/Mouse mat
Embossing tool
Double sided Tape
Embelishments

Firstly you have to cut a piece of A4 card lengthways. I used a heavy card stock but to practice you can use thick paper.
 Next you have to score along these lines and to do this (as its not very clear in the pictures). Firstly place the short edge against the edge of your board or if you don't have one turn the paper that way and make sure it is square you don't want a 'wonkey' card now, The lines are made at A4 gate fold and A4 half fold this is approx 7 1/2 cm (3 in) down and approx 15 cm (6 in) down. Then you have to fold the first line (3 in) up and butt that against the edge/ make square, and put notches at half fold A4 and then turn lengthways and make a notch at gate fold A5. You then have to join the lines to make a diamond shape, the bottom lines go all the way down to your first fold.

You are now ready to embellish your card.
I stuck to triangles but you don't have to.
Enjoy trying this card it is super easy I will try and get more made up so you can see the different ways to matt and layer and embellish.
Wednesday, 7 November 2012
Shona-Rose's Butterfly Easel Card

Subscribe to:
Posts (Atom)